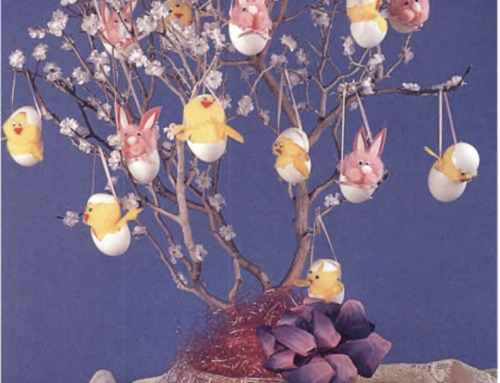


With summer just around the corner, you may need to gather together quite a catalog of ideas for entertaining as well as instructional “school’s out” projects for the kids. Be sure to collect project ideas to fit each child’s tastes — cooking, exercise, science, gardening, recreational and personal interest projects are all fair game. Encourage projects that involve collecting, such as stamps, coins, shells, rocks and minerals, historical artifacts, etc., and then help the kids do a little research and become experts on the items they are collecting.
Here is a wonderful learning activity — a homemade camera.
What You’ll Need:
• #10 can (like a large coffee can) with a lid
• Flat black spray paint
• Black tag board
• Scissors & clear tape
• Thin nail & hammer (or small drill bit)
• Black tape
• Sheet film (available at photo supply stores)
Directions
With the nail and hammer make one very small hole 2 inches up from the bottom of the can. (Hint: If you fill the can with water and freeze it first, when you make the hole, the can will maintain its shape; if you prefer, drill the hole with a very small drill bit.) Spray paint the inside and outside of the can and lid. Allow can to dry thoroughly. Use a piece of black tape to cover the hole. To make the film holder, cut a square of the tag board approximately 1 inch less than the diameter of the can. Cut three 1/4-inch-wide strips of tag board. Lay these strips along three sides of the square, trimming to fit. Tape the outer edges together, leaving the inside edge loose for film to slide in.
To use
In a completely dark room, slide the film into the holder, then slide the holder into the can, directly opposite the hole, and replace the lid. To take a picture, go outside in the sunlight, hold the camera very still, remove the tape, wait for four seconds to expose the film, then replace the tape. Remove the film in a completely dark room and place it in a black envelope to take to the developer. You will be pleasantly surprised at the results you get from your camera.