

If you have a metal Dutch oven table, you’re already set. These tables provide a sturdy, nonflammable surface and a comfortable cooking height.
But if you don’t have one — don’t panic. There are plenty of easy alternatives that work just as well.
Cooking on Concrete or a Patio
One option is to place a piece of heavy-duty foil on a concrete surface and set your briquettes on top of the foil. While this works, bending over for long periods can be uncomfortable. Raising your Dutch oven makes cooking easier, safer, and much more enjoyable.
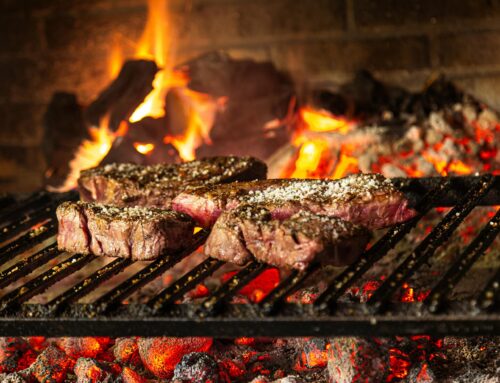
Using a Charcoal Barbecue Grill
Your backyard barbecue grill can double as a Dutch oven cooking base.
How to do it:
-
Place a foil-covered pizza pan on the grill rack
-
Set your briquettes on the pan
-
Place the Dutch oven directly over the briquettes
This method works especially well if you don’t have another nonflammable surface available.
Classic Campfire Foil Dinners: Easy, Mess-Free, and Delicious
Cooking on a Kettle Grill
If you have a kettle-style barbecue, Dutch oven cooking is simple.
-
Place a round pizza pan on top of the grill rack
-
Add your charcoal to the pan
-
Set the Dutch oven on top of the briquettes
If you are cooking with more than one Dutch oven, stacking them is the most efficient method.
Raising Your Dutch Oven for Comfortable Cooking
Another great way to raise your Dutch oven is by using a wheelbarrow or a metal wagon.
How to set it up:
-
Add about 6 inches of sand, gravel, or dirt
-
Place bricks or stepping stones on top
-
Set your Dutch oven on the bricks
This setup creates a sturdy surface and brings the oven to a comfortable working height.
Stacking Dutch Ovens for Efficiency
When cooking with multiple Dutch ovens, stacking saves space and fuel. Place one oven on top of another, allowing heat to rise naturally.
Charcoal tip:
Decrease the number of briquettes as you stack. A good rule of thumb is to add three briquettes per inch of oven diameter on each lid. Because Dutch ovens have legs that allow air circulation, it’s okay if there are extra briquettes underneath.
Dutch Oven Recipe: Chicken Rice Special

Ingredients
This hearty, comforting meal is perfect for backyard cooking and feeds a crowd with minimal effort.
Cooking Steps
- 1Place the undiluted soups, rice, and water into the bottom of the Dutch oven. Stir well.
- 2Arrange the chicken pieces on top of the rice mixture.
- 3Sprinkle the dried onion soup mix evenly over the chicken.
- 4Place the lid on the Dutch oven.
- 5Add charcoal to the top and bottom of the oven.
- 6Bake for 45–60 minutes, until the rice is tender and the chicken is fully cooked.
Why Backyard Dutch Oven Cooking Is So Enjoyable
Cooking with a Dutch oven in your backyard combines the simplicity of outdoor cooking with the comfort of home. You can experiment with recipes, cook for friends and family, and enjoy great food without complicated setups.
Once you try backyard Dutch oven cooking, you may find it becomes one of your favorite ways to prepare meals outdoors.
Your Content Goes Here