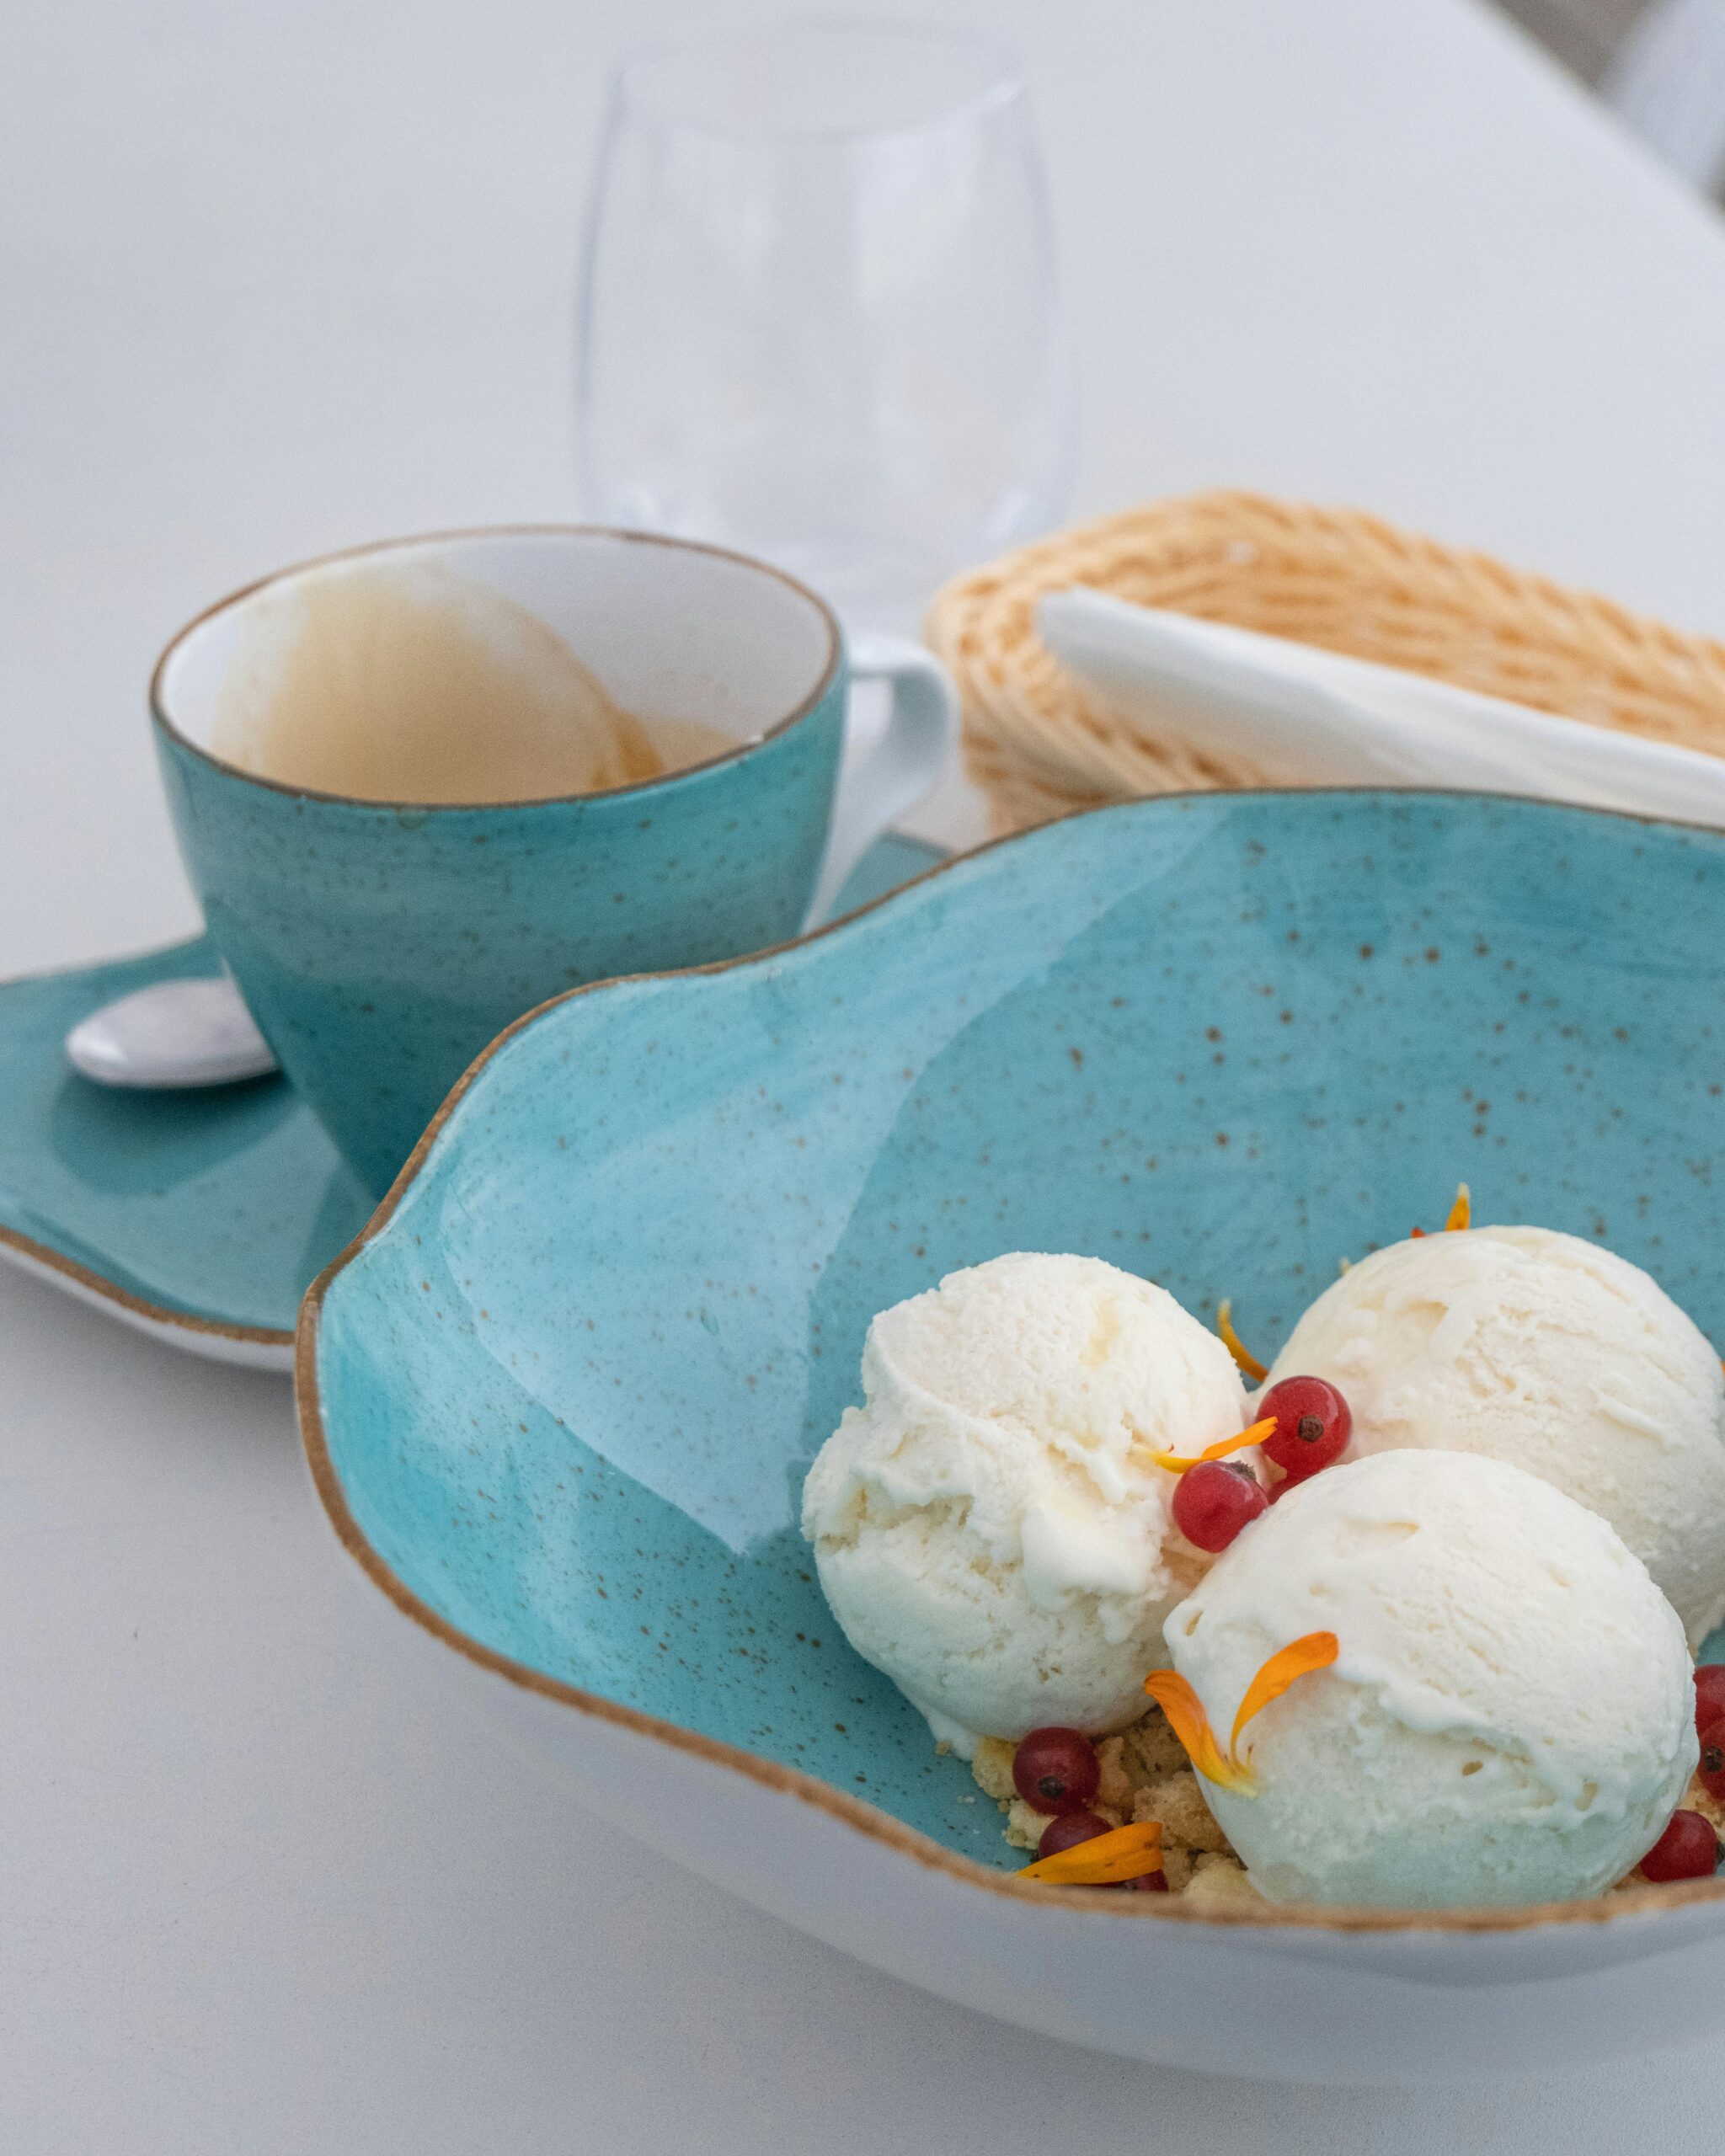
Ball-Toss Ice Cream

Ingredients
Need a kid-approved way to cool off this summer? This ball-toss ice cream recipe is part science experiment, part outdoor game, and 100% delicious. All you need is zip-top bags, some ice, and basic ingredients to make smooth vanilla ice cream in just 20 minutes — no ice cream machine required.
This activity is perfect for camps, reunions, backyard playdates, and even family night!
Cooking Steps
- 1Add milk, whipping cream, sugar, and vanilla to one quart-size bag. Squeeze out the air and seal.
- 2Place this bag into the second quart bag and seal to double-layer.
- 3Put the double-bagged mix inside a gallon-size bag. Fill with ice and sprinkle rock salt over the ice. Seal the gallon bag.
- 4Place the sealed gallon bag into the second gallon bag to prevent leaks. Seal tightly.
- 5Wrap the entire setup in newspaper for insulation and cushioning. Use tape to hold the ball shape.
- 6Toss the “ice cream ball” back and forth for 15–20 minutes. (Be careful not to drop or puncture the bag!)
- 7Unwrap, remove the inner bag, wipe off any salt, and enjoy your fresh, homemade ice cream.
Tips & Variations:
-
Add mini chocolate chips, crushed cookies, or berries after mixing.
-
Use chocolate milk or strawberry milk for flavored ice cream.
-
If it’s not quite frozen after 20 minutes, rewrap and toss for another 5–10 minutes.
-
Use insulated gloves or towels to toss if the ball is too cold.
Why You’ll Love It:
-
Great outdoor activity for kids
-
No special equipment needed
-
Educational and entertaining
-
Customizable flavors
-
Ready in 20 minutes
Perfect For:
-
Summer camps
-
Backyard BBQs
-
Family reunions
-
School science or STEM fun days
This ball-toss ice cream isn’t just a treat — it’s an experience. You’ll be amazed at how much fun it is to play with your food and end up with a cold, creamy dessert.


