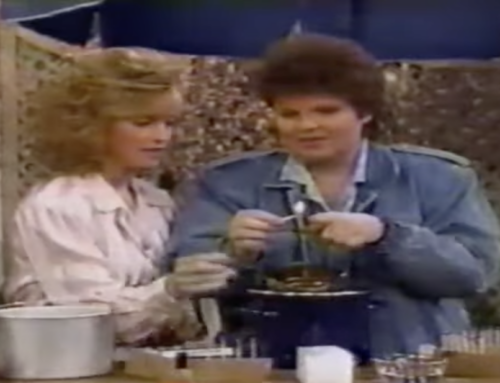


Dutch oven cooking is one of the oldest and most rewarding forms of outdoor food preparation. Whether you’re making a hearty stew, a rustic pie, or even baking bread, a Dutch oven gives you control, versatility, and old-world flavor.
Why Use a Dutch Oven?
- Versatility: Bake, roast, fry, boil, or stew—all in one pot.
- Durability: Cast iron holds and distributes heat evenly.
- Flavor: Seals in moisture and flavor for slow-cooked meals.
Getting Started: Seasoning Your Dutch Oven
If you’re using a new cast iron Dutch oven, start by seasoning it:
- Wash with hot soapy water to remove the wax coating.
- Dry thoroughly with paper towels (cloth will stain).
- Rub melted shortening all over the inside, lid, and outside.
- Place upside down in a 350°F oven for one hour (use a cookie sheet underneath to catch drips).
- Let cool in the oven.
Re-season after each use by applying a thin oil coat to maintain its nonstick surface.
Handy Dutch Oven Accessories
- Lid lifter or pliers
- Leather gloves
- Tongs and long-handled brush
- Lid holder or clean board for lid placement
- Dutch oven cooking table (metal, fireproof)
Outdoor Cooking Setup
Outdoor Dutch ovens have three legs and a flat lid for placing coals on top. Use a grill, brick setup, wheelbarrow filled with dirt, or barbecue base.
Basic Heat Control
Use this formula to reach 325°F:
- Size of oven = number of inches (e.g., 12″)
- Subtract 3 = briquets under the oven
- Add 3 = briquets on the lid
| Oven Size | Lid Briquets | Underneath Briquets |
|---|---|---|
| 8 inch | 11 | 5 |
| 10 inch | 13 | 7 |
| 12 inch | 15 | 9 |
| 14 inch | 17 | 11 |
| 16 inch | 19 | 13 |
Rotate the oven 1/4 turn every 15 minutes to avoid hot spots.